Showing posts with label vintage. Show all posts

Wednesday, April 18, 2012

getting more sewing done...

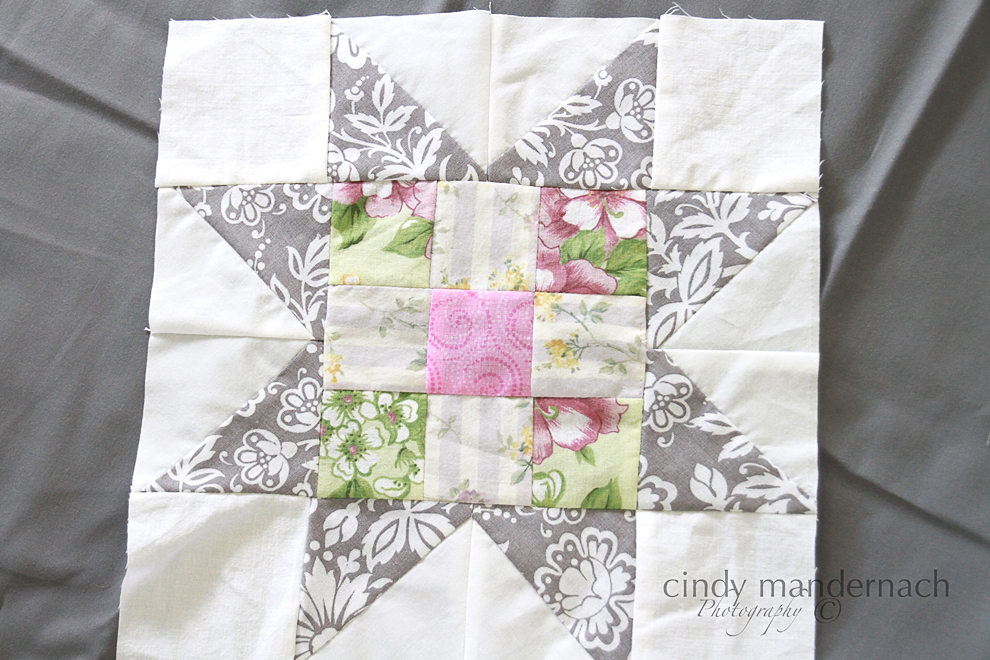
and i am getting way braver...i actually tried to piece a quilt block.
or a whole bunch of quilt blocks....
16 of them to be precise.  

if you are an actual quilter and you are reading this, avert your eyes right now.  
because i am no expert...
but i have to say, i am not completely unimpressed with myself.
i didn't think that I would ever be able to do something like these blocks.
even the thought of doing something like them intimidated me enough to think i could never ever pull it off.  but i have seen so many graphic and colorful quilts on pinterest and i was intrigued by them. but it took months and months to even think of attempting it.  and you know what, it wasn't that hard.  
i should have figured that part of it out just by reading the blogs of people that actually know what they are doing when they quilt.  they make lots and lots of them. and rather quickly too.  so it must not be as tedious as i thought it was.  and i was right.  it really doesn't take that long.  i made 14 of the blocks on saturday and sunday.  the most time consuming thing is cutting the fabric.  the sewing of the fabric actually goes really fast.
i am still working on how i want to put the blocks together.

this quilt was another pinterest inspiration.  all i did was sew pieces of scrap material on top of each other in a block with no rhyme or reason.  if i liked it, i sewed it on top of the last piece. 
the quilt is small, about 26 x 36 inches, so i will probably just hang it on the wall.  it's a little heavy too, because of all of the layers of fabric in each block.

i used lace, crocheted scraps and flannel along with vintage sheets and cotton fabric.
i even used a scrap of super soft fleece.  i just love the houndstooth pattern and it's so soft, i just want to pet it all of the time...
and speaking of graphic, i found a great graphic print at joann's for the backing
the edges of the fabrics were all sewn with raw edges so there are loose strings everywhere....

but i think it adds to the quirkiness of the quilt.
it's very colorful and funky.  
 i am still working on the quilts for chemo and have completed 9 of them.  i have a couple more to make and when lisa comes back to michigan in early may, we will take them to the center.  i gave one to my friend who just started her chemo treatments and she was very happy with her quilt.  she wrote me a beautiful thank you note and said that the quilt was a big hit at the chemo center and everyone commented on it.  i can't wait to deliver these.....
i really love the colors in this quilt.  it's hard to believe that they are all thrifted bedding....
this one is still in the binding stage.
each of the quilts have a tag with an inspirational quote on it.
we wanted to make some more masculine quilts for the men too.  i think that while this one doesn't scream "macho man" it's at least a little less feminine that the others that i've made...
back soon with some pictures from photo shoots that i have done recently....
little teeny tiny babies...  :D


Tuesday, February 21, 2012

another quilt....

I started another quilt last week.  actually, i started 3 quilts last week.  it was a busy week to say the least. my friend lisa came back to michigan from her new home in minnesota and spent a few days with me sewing and painting.  she brought a bathroom cabinet over for me to show her how to paint and fix up.  more on that later.  
i have been making a few vintage sheet quilts and i decided that i wanted to try something more modern and clean looking.  i decided that i wanted to try a circle quilt after seeing tons of them on pinterest.
it's totally sensory overload there and i was inspired to try my hand on one for myself. 
in a nutshell, i zig-zagged some circles onto some gray squares.  

so this heap of fabric was cut into circles.
because i am so incredibly lazy ingenious, i pinned eight layers of fabric together, placed a cereal bowl on the top layer and traced a circle. 


i cut them out all at once.  
and because i am so lazy ingenious,  i only screwed up a few of the circles...(that'll teach me).
then, i pinned the circles to the squares and laid them out to see how i wanted the placement to be.

after determining that, i sewed the circles to the each square.  
i got a little decorative with some stitching because i thought it would be too boring if i didn't.  
(it really wouldn't have been)
i only did this on about 7 of the circles.
 it does look cool, though...
 i used white fabric between the vertical rows of squares...which i didn't take a picture of.  
 lisa had a great old sheet in her stash that i thought would be awesome for the backing and she was generous enough to let me wrestle it away from her.  
right now i am hand stitching the binding on and will share a picture of the completed quilt when that is finished in the next day or so. 

we (lisa, my daughter shannon and i) decided that we would make quilts for the local cancer center.  it is the same center that don went to when he had his chemotherapy 7 years ago for colon cancer.  he told me that when he would get chemo, he was always cold.  i thought that with all of the vintage sheets that i have  i would make lap quilts for the patients. 
i started two of them last week too...
 a pretty flannel quilt 
 and a patchwork quilt using some of the vintage sheets...
 i asked lisa and shannon to help out and we are in the process right now of matching and cutting more fabric and bagging it up in sets to start making "quilts for chemo"....
more updates soon!!!

Sunday, February 12, 2012

a vintage window.....

rummaging around in my friend lisa's parent's barn loft last summer was so amazing.  there were stacks of old windows leaning up against the wall.  I think that they were originally part of the house that they are now in the process of renovating.
i found this one...
it was so dirty that i thought that the glass was opaque and didn't realize that there was clear glass until i brought it home and started cleaning it.  
what i loved about it and the reason that i picked this particular one was that the original paint had turquoise overtones.  and because it was really dark in the barn loft, i didn't realize how really cool it was until i got out into the sunlight.
it had just the right amount of age and vintage charm. and of course, that great 1930's or 40's turquoise paint...
after cleaning it up, the glass was in perfect condition.  i guess all of that dirt helped to protect it, right?  i didn't do anything to this window besides cleaning the glass...all of that paint is the original aging and patina on the wood....it's fabulous! 
I found the perfect wall for it in my house...
the room that had it's name all over it....this wall was just begging for something to fill it.
but this window was big (57 x 24 in) and heavy so i needed to hang it carefully.  
i found some heavy duty hanging hardware at home depot.  i normally would have just used one on each end but i thought maybe i had better not take any chances.  i decided to disperse the hanging tension by adding the hardware to each pane.  
thankfully, the studs in the wall fell into the right place to center this window on the wall.  
it filled the space perfectly....
and added the perfect amount of vintage "grunge" and flaky paint patina
to the otherwise clean look of the room.
thanks again to walt and penny (lisa's parents) for allowing me
access to your treasure trove of a barn.....
and gifting me with this amazing piece of your history...

Monday, February 6, 2012

free storage....always a good thing......

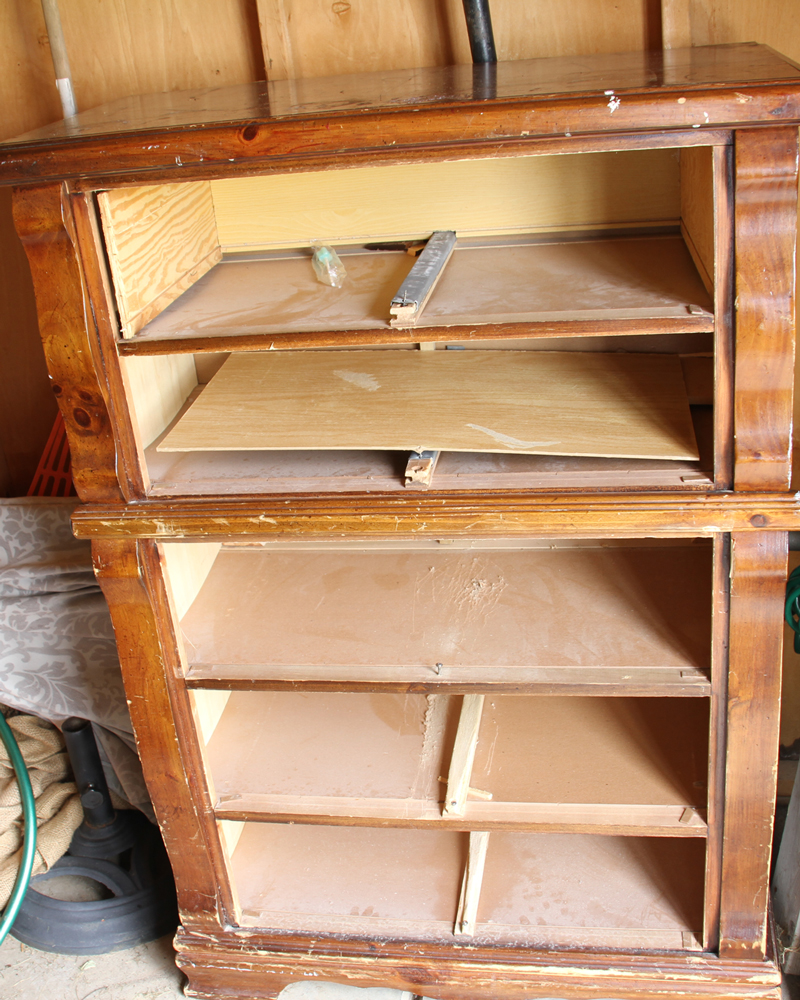
do you remember this piece of trash?.....literally, i pulled it out of someone's trash pile....
it was really rough, inside and out,  but i loved the curves and the sturdiness 
that comes with an older piece.
the edges were pretty chewed up but i knew a little sand paper would work wonders...


I used annie sloan paint in paris grey for the piece.  i figured it would be a neutral shelving unit and any color of fabric that was placed in there would show off as pretty.  
because we all need pretty in our lives, don't we?
 i love that all of my vintage sheets now have a beautiful home....
  to make it even prettier, i painted the shelves in a pretty turquoise. 
 i still plan on getting a piece of beadboard for the back which i will paint the same turquoise. right now i have a piece of wood covered in blanket fabric that i use for photography.  it's a perfect little niche to store that behind the dresser and it works for the backing right now.   
the shelves had to be cut in half though, because there was cardboard there before which was pliable.  the backer board that i replaced the shelves with was more rigid and the only way i would have been able to get them into their spot would have been to cut and remove the post in the back.
once the fabric is on the shelves, you can't tell that it isn't one piece.  
sometimes you just need to improvise to make your design plan work.
 the finish was distressed since it was so rough to begin with.  now it looks like the flaws are on purpose.....
crappy old dresser....0 dollars
beautiful storage for pretty fabric....priceless....


Related Posts with Thumbnails